Why your roof leaks behind siding without shingle damage
When mysterious water spots appear on your first-floor drywall after a heavy downpour, rainwater is often bypassing your roof shingles entirely and leaking behind the exterior siding. Roof-to-wall transitions require an interconnected system of woven step cards, weather barrier integration, and kick-out diverters to keep bulk runoff from rotting your home’s framing.
Read on to review the essential checklist for diagnosing concealed junction failures, evaluating repair options, and determining when scheduling a professional
roof repair inspection with Umbrella Roofing will prevent hidden structural framing rot.
TL;DR: Quick takeaways for Sugar Hill homeowners
- Concealed intrusion points: Roof-to-wall junctions require individual step flashing pieces woven between every shingle course; continuous metal strips or missing kick-out diverters channel gallons of runoff directly into wall cavities.
- Severe structural consequences: Water hidden behind siding rots plywood sheathing, degrades wall insulation, and promotes unseen mold colonies long before interior drywall shows damage.
- Professional diagnostic protocol: Pinpointing subsurface flashing failure requires non-invasive thermal imaging and calibrated moisture meters rather than basic surface visual checks.
Why roof-to-wall junctions fail and leak behind siding
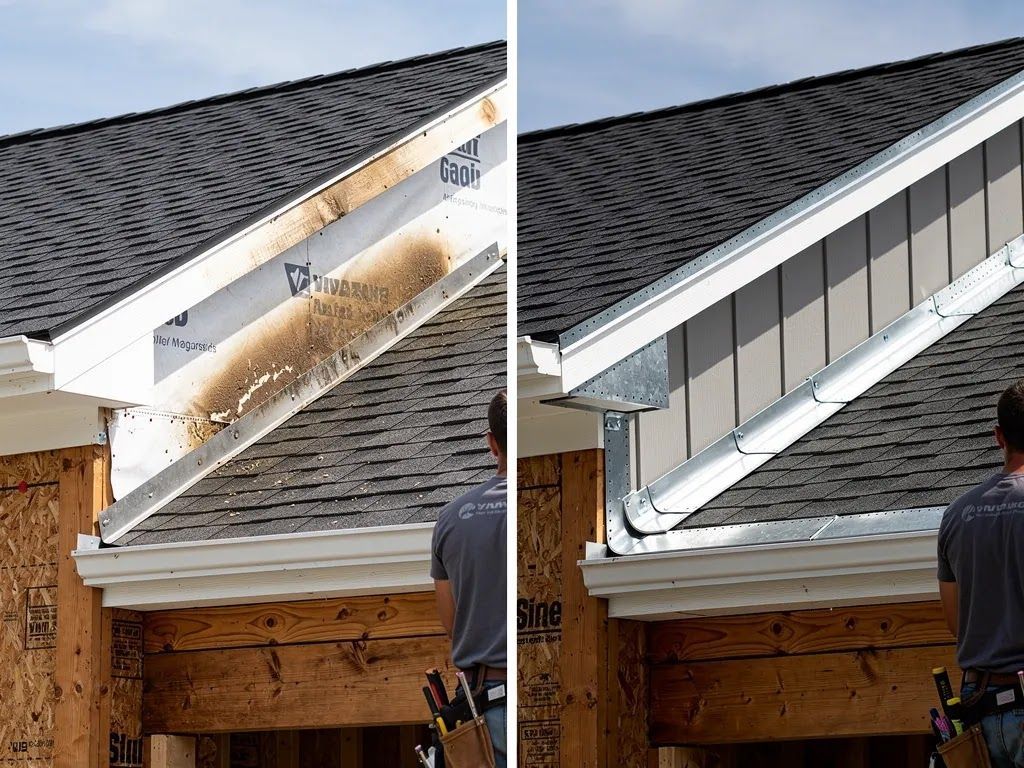
Roof-to-wall junctions fail primarily from thermal expansion fatigue, improper fastener placement, and poor integration with the weather-resistive barrier.
When a sloped roof intersects a vertical wall along a dormer, sidewall, or chimney, the two building surfaces expand and contract at different rates during temperature swings. As established in the
Building Science Corporation Digest BSD-013: Rain Control in Buildings, exterior cladding alone cannot guarantee complete waterproofing: "Screened and drained wall systems assume some water will penetrate the cladding, requiring a drainage plane, flashing, and weep holes to direct water out." When that drainage plane is compromised, bulk water moves directly into the framing cavity.
Single continuous metal strips buckle during North Georgia heat waves, pulling fasteners loose from wall sheathing and allowing rainwater behind the housewrap straight into the framing.
Why kick-out flashing protects exterior wall corners
Kick-out flashing diverts accumulated roof runoff away from the vertical wall cladding and directly into the gutter system at eave intersections.
The most vulnerable point on any roof-to-wall intersection is the bottom corner where the roofline ends and the wall continues downward. According to the
National Roofing Contractors Association (NRCA) Architectural Metal Flashing Guidelines, "a kickout flashing is used where a lower roof edge intersects a vertical sidewall to divert water away from the wall and into the gutter." Without this critical diverter, water streaming down the roof edge dumps directly down the vertical wall seam.
| Flashing Component | Proper Mechanical Installation | Common Contractor Error | Resulting Problem for Homeowner |
|---|---|---|---|
| Step Flashing | Individual metal cards woven under each shingle course | Installing one long continuous metal strip along the wall | Metal buckles with seasonal heat, opening water pathways behind siding |
| Kick-Out Diverter | Angled metal piece directing water away from wall into gutter | Leaving off the diverter piece entirely | Dozens to over a hundred gallons of concentrated runoff pour inside wall corners, rotting framing and subflooring |
| Counter Flashing | Embedded securely into masonry joints to cap base metal | Smearing silicone or tar over the joint without mechanical fasteners | Sealant dries and cracks within 2 to 3 years, letting rainwater behind brick |
| Siding Clearance | Siding elevated 1.5 to 2 inches above the shingle plane | Siding installed touching the shingles directly | Siding wicks water upward like a sponge, causing rot along wall bottoms |
Early warning signs of flashing failure inside and outside your home
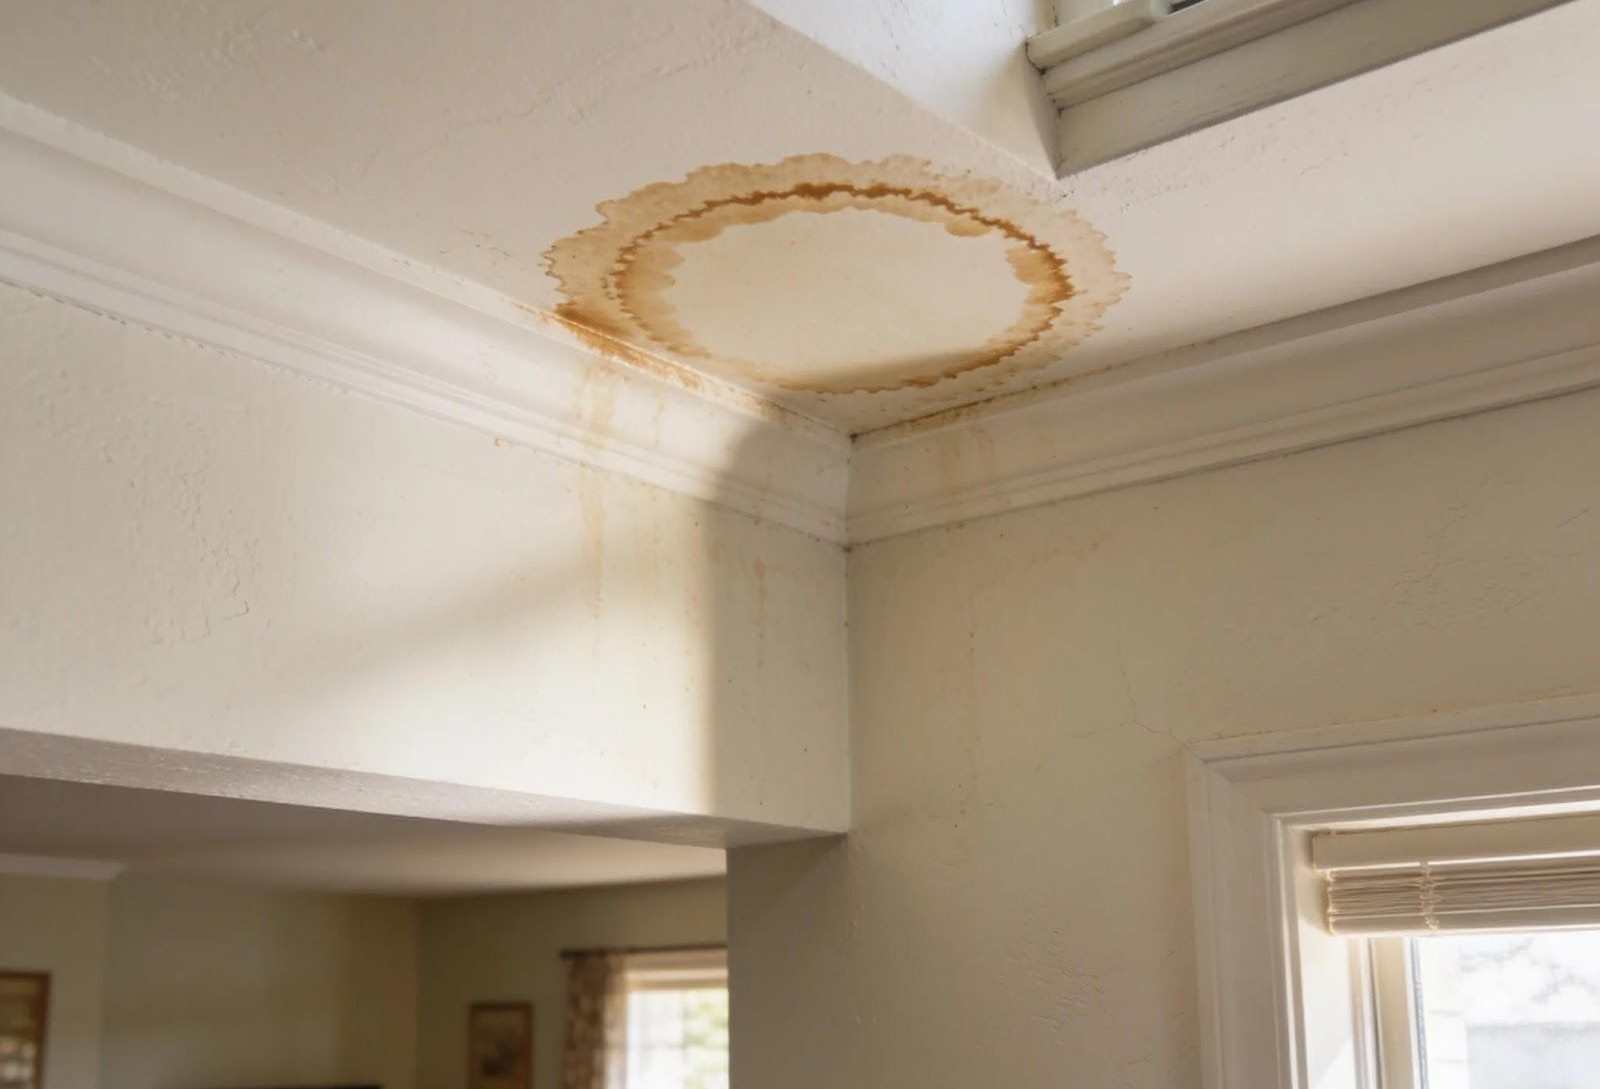
Detecting hidden flashing leaks requires inspecting interior finishes, exterior cladding clearance, and attic junction points for subtle water pathways.
Because water travels along framing studs, the symptoms of a flashing leak rarely appear on the ceiling directly above the failure point. Homeowners should inspect for the following warning indicators:
1. Exterior siding deterioration and staining
Inspect the seam where your siding meets the roofline. If the cladding touches the shingles directly without a clear gap, capillary action draws water upward into the siding boards. Look for swollen siding edges, warped panels, peeling paint, or dark water streaks running down the foundation beneath roof corners.
2. Interior drywall softness and baseboard separation
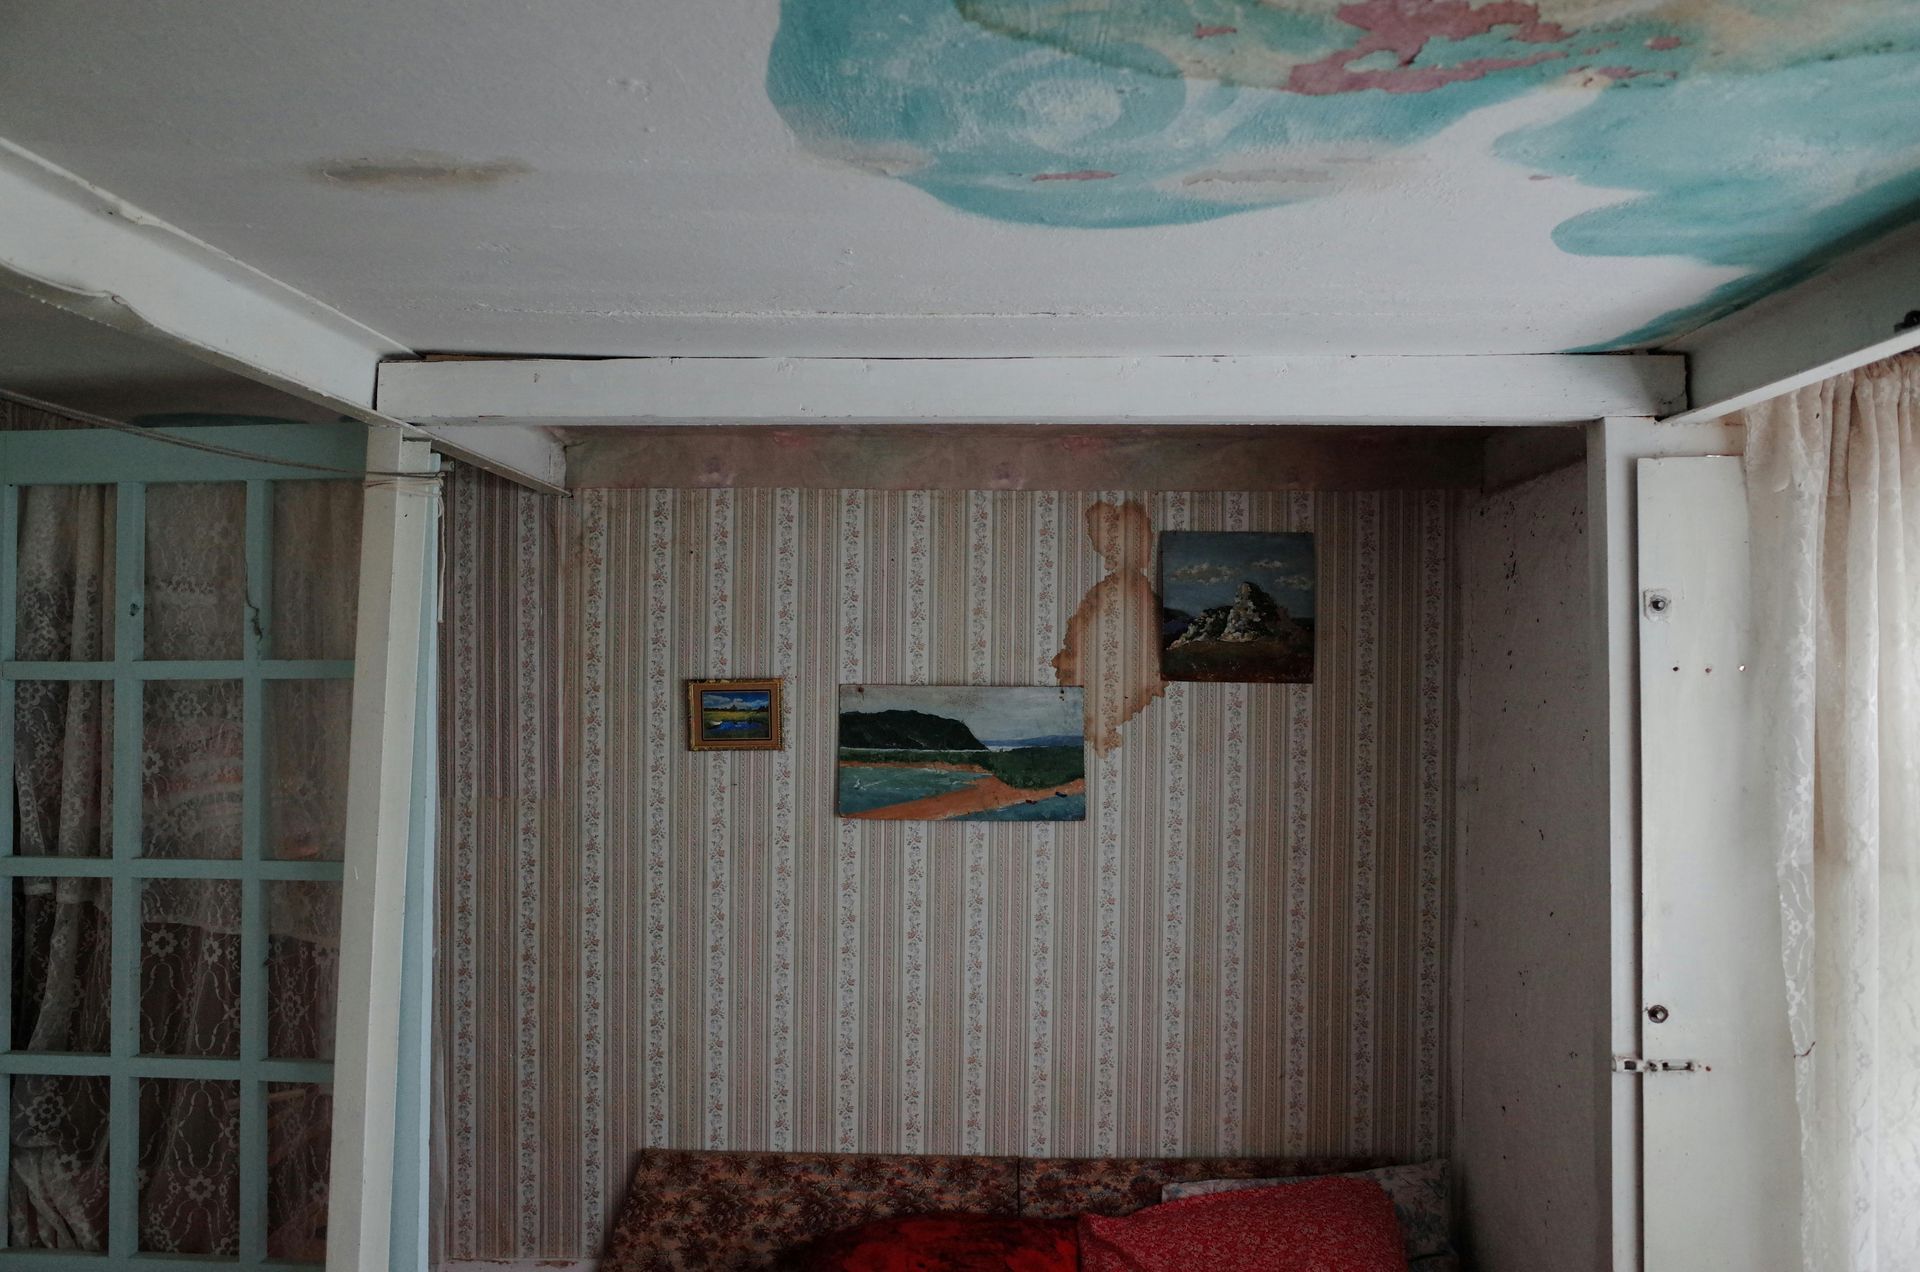
Water leaking behind siding travels down vertical wall studs, pooling at horizontal window headers, intermediate framing blocks, and bottom floor plates. Check interior walls adjacent to upper rooflines for bubbling paint, soft spots near baseboards, or faint yellow-brown water halos around window frames.
3. Attic rafter and sheathing discoloration
In the attic space directly behind sidewalls or dormers, inspect the roof decking and vertical wall studs. Blackened wood, rusted nail shanks protruding through sheathing, or damp insulation indicate active water infiltration.
Professional diagnostic protocols and corrective repair standards
Restoring roof-to-wall weatherproofing requires carefully removing adjacent siding courses, replacing compromised sheathing, and weaving new corrosion-resistant step flashing.
Fixing a concealed flashing leak is not a matter of applying surface caulking or roofing tar over existing metal. Roofing cement degrades rapidly under ultraviolet exposure, cracking within 12 to 24 months and trapping moisture against the wood framing. A permanent, professional repair follows a rigorous methodology:
- Siding detachment: Technicians remove the bottom courses of siding along the roof intersection to fully expose the wall sheathing and existing weather barrier.
- Substrate inspection: Any roof decking or wall framing showing structural decay must be evaluated against engineering standards. According to the USDA Forest Products Laboratory Wood Handbook (FPL-GTR-190), "serious decay occurs only when the moisture content of the wood is above the fiber saturation point (average about 30%)" and "decay can be prevented by keeping the moisture content below 20%." Any sheathing compromised by moisture saturation is replaced with sound structural wood.
- Membrane integration: A self-adhering, high-temperature waterproof membrane is applied across the deck-to-wall junction to create a watertight secondary seal.
- Step flashing installation: Individual corrosion-resistant metal step flashing cards are placed with every shingle course, fastened only to the roof deck to allow natural structural movement.
- Weather barrier integration: The housewrap is layered over the vertical metal legs, ensuring any water reaching the wall drainage plane sheds safely outward over the shingles.
- Siding reinstallation with proper gap: Cladding is rehung maintaining a strict clearance above the shingle plane to prevent capillary water draw.
If you suspect hidden water intrusion along your roofline, partnering with an experienced contractor for targeted roof repair in Sugar Hill, GA ensures your roof-to-wall flashing system is rebuilt to permanent building code standards.
Frequently asked questions about hidden roof flashing leaks
Can caulking or roofing tar permanently fix a leaking sidewall flashing?
No. Surface caulking and roofing tar provide only temporary relief because they degrade rapidly under direct solar UV exposure and crack during seasonal temperature changes. A permanent fix requires removing the lower siding courses, inspecting the wood substrate for moisture decay, installing woven metal step flashing cards, and properly shingling the weather-resistive barrier over the vertical metal leg.
Why do water stains appear near floor baseboards instead of the ceiling?
Water entering behind exterior siding follows the path of least resistance, tracking vertically down framing wall studs, sheathing seams, and interior fiberglass insulation. Gravity carries the runoff down through the wall cavity where it pools at intermediate window headers or the bottom sole plate, wicking outward into baseboards, subflooring, or lower wall drywall far below the actual roof failure point.
How much clearance should siding have above roof shingles?
Building codes and siding manufacturers require a minimum clearance of 1.5 to 2 inches between the bottom edge of the cladding and the finished surface of the roof shingles. If siding is installed touching the shingles or buried in roofing sealant, it wicks water upward via capillary action, accelerating siding rot and preventing step flashing from draining properly.
Does homeowners insurance cover repairs for hidden flashing leaks?
Homeowners insurance typically covers sudden, accidental water damage resulting from an acute storm event, but policies often exclude chronic or long-term damage caused by gradual maintenance wear, installation defects, or ongoing rot. Having a professional roofing inspection report that documents the exact point of entry and storm-related displacement helps provide necessary evidence during the claims process.
Protecting your home from concealed junction leaks
Roof-to-wall flashing serves as your home’s primary defense against catastrophic structural rot and interior drywall damage. Ignoring subtle water stains or relying on temporary topical caulking allows hidden moisture to weaken framing studs, degrade insulation performance, and foster costly structural decay behind your siding.
If your home exhibits signs of flashing wear, missing kick-out diverters, or unverified leaks near vertical walls, contact Umbrella Roofing today. Our local team provides free same-day inspections, clear itemized written quotes, and permanent repairs backed by our 10-year workmanship warranty.
About the author
Samuel Galperin is the founder of Umbrella Roofing, LLC, a family-owned roofing contractor headquartered in Sugar Hill, GA. With extensive field experience in residential roof replacements, storm damage restoration, and building envelope diagnostics across Gwinnett County and North Georgia, Sam oversees high-standard installations backed by a 10-year workmanship warranty and transparent, upfront customer pricing.
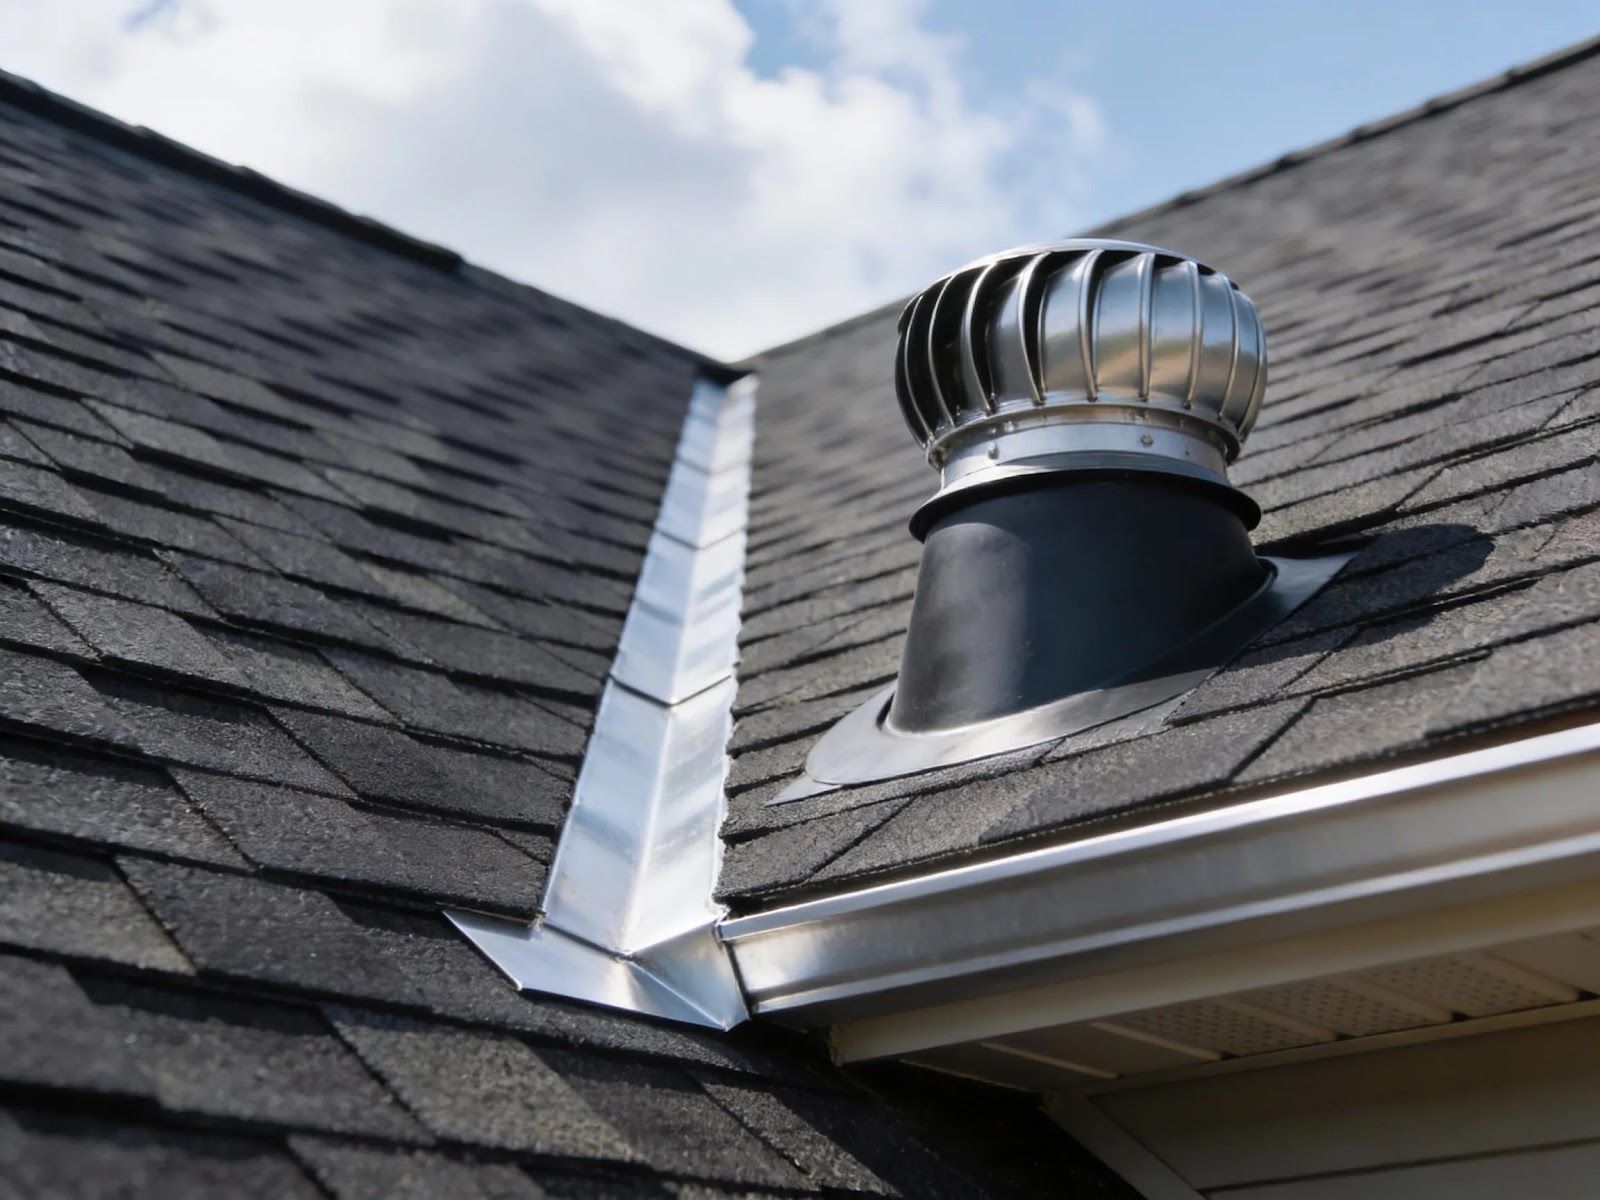
Roof repair in Sugar Hill: why 80% of leaks start at joints and flashing (and how to fix them early)